Magazine » Lingerie 101 » Bras »
How To Add A Built-in Bra To Clothing?

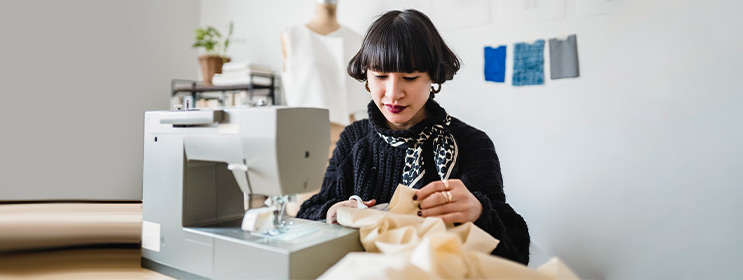
You’re probably wondering why you need to add a built-in bra to your clothing? But trust me these built-in bras save you from a lot of awkward situations. Built-in bras also just happen to be comfortable. These bras also provide a pleasing silhouette and make you look absolutely breathtaking. In this blog, we’ll demonstrate how to add a built-in bra to your clothing! This technique works great when making athletic wear, swimwear, or just an everyday top with some extra support! Adding a built-in bra to a top is very helpful when making a tank with spaghetti straps, an open back top, tube top, off-shoulder top or a bathing suit.
Without further ado, let’s get started!
Equipment That You Need:
- A pair of scissors
- Needle and thread
- Straight pins
- A sewing machine (optional)
Things That You Need:
- A will-fitted bra
- Two bra cups of your size (optional)
Step-by-Step Instructions:
So basically there are two methods to add a built-in bra to your clothing.
- If you are looking for more support for the busts go with this method. This method is ideal for women with heavy busts.

- Once you have your padded bra, assess your garment.
- Next, remove the straps and separate each cup with a pair of scissors.
- Make sure to properly cut off the sides carefully but leave the cups connected in the middle.
- Put on your garment and attach the bra cups with pins where you want them to be.
- If the top edge or side of the cup is sticking out to where it is visible, you can fold the edge inward and tack it in place with a needle and thread. (Since it’s soft foam, the folded edge won’t disturb you.)
- Otherwise, you can cut the edge and use a serger or zigzag stitch to sew it.
- Once your cup is in the proper position, use a needle and thread to sew each cup to the garment in at least four places about 1/4″ away from the cup edge at each side and top and bottom (you can even stitch in more locations as per your convenience).
- Use a thread colour that compliments your clothing or one that will be least visible on the outside of the garment while attaching the cup.
- Make small stitches to where you are coming through to the front and try going back in the same spot.
- Or, if your garment has two layers of fabric in that area, hold the inside layer so no stitches are noticeable from the outside.
- Once your bra is in, your garment is ready to wear! Yay!
- If you are looking for less support go with this method. This method is ideal for women with small bust sizes.

- For this method, you’ll have to purchase a pair of bra cups of your size. Make sure to get some that match the clothing item’s colour so it’s not noticeable.
- Put on your garment and assess where you want the cups to be.
- Pin the cups in place, gently put on the item back and make sure you like the cup location.
- Follow the instructions that are mentioned in the first method about trimming the cup size if necessary and how to sew in the right place.
- Once your cups are in the right place, your new garment is good to go!
Very simple right? With the above-mentioned steps, you can easily add a built-in bra to your garments. Make sure to read and follow each and every step carefully.
- Bust It Up: Here’s All You Need To Know About Side Support Bras - December 30, 2025
- Why Do You Need a Bridal Bra & When to Wear It? - December 29, 2025
- Tutorial On How To Wear A Silicone Bra - December 19, 2025


